Pesky Pricing Part Two- Scene Creation
- coveredbytherose

- Jul 18, 2020
- 5 min read

Hello and I'm back with another addition to my Pesky Pricing Explanatoria... I know, that is not a real word, but hey, in my line of work I create things, so I created a new word! Anyhow, after working on Pesky Pricing Part One- Character Creation, I started Part Two- Scene Creation, as a deeper look into what it takes to create a scene. If you missed part one, you can find it here https://coveredbytherose.wixsite.com/coveredbytherose/post/pesky-pricing-part-1-character-creation
So, now that you have your character ready to go, we're going to look at the scene itself. I created my scenes depending on the type of book the clients wants to publish. The sizing is important, as is the resolution; which I set to 300dpi. If the client is wanting both e-book and paperback copies, I will design the slides as e-book images, at paperback sizing, then convert to paperback slide after. Example:
If the paperback is meant to be a 6in X 9in book, then I will design the slides as 12in X 9in e-book slides, then convert the e-book slide into two paperback slides at 6in X 9in each. This allows me to create a whole image for the e-book and have both paperback slides match up evenly when it is time to convert.
Scene Creation:
Just like Character Creation, Scene Creation consists of many layers, except, you're working with many slides/scenes and your character is one of them. Imagine Character Creation and times the work by however many slides/scenes you want in your story. It too, can add up, but just as the client controlled the layers in the Character Creation, they also control the layers in Scene Creation as well. More detail = More layers.
**Please note that your scene will usually consist of a minimum of ten layers... Background outline, Background color, Middle outline, Middle color, Foreground outline, Foreground color, Character, Shading,Text Box and Text. This allows the illustrator to slide layers in and around objects like tables and chairs, counters of shrubs.**

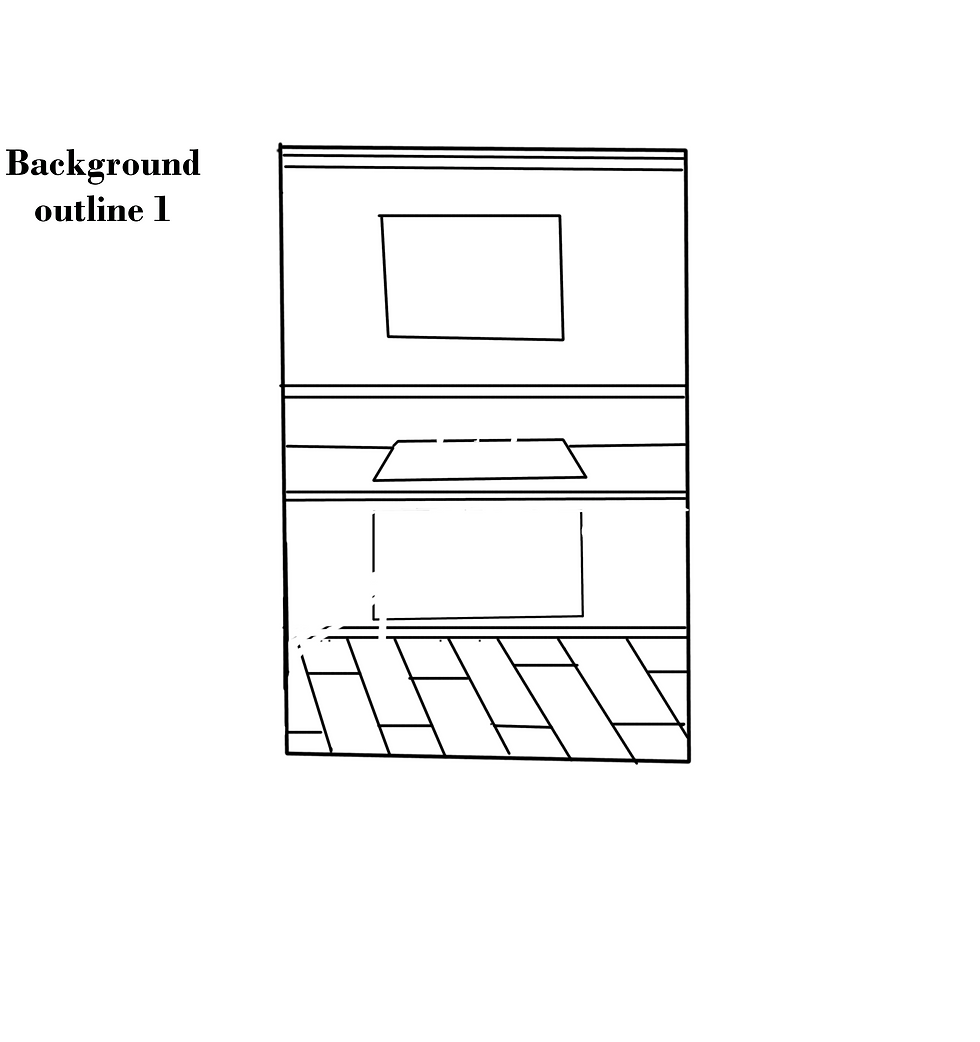
Just like with Character Creation, you start with your basic background outline. Pretty much anything in the scene that WILL NOT move. In this case, it is the floors, walls and counters in the kitchen. You'll notice there are some spots missing, but once you add the other layers, those blank spots won't be noticeable. Leaving the spots blank ensures the back outline does not bleed through the color layer on top of it.

Here we have added the second layer, which consists of the cupboards, the window frame and the sink. Again, there are some bits missing, but those will be filled in later.

The cupboards doors are the third layer, separate from the others so the coloring and shading can be different. It also allows for them to be seen as open or missing in future slides. Layer three will sit on top of layers one and two and will help fill in those gaps!
We are now ready to start adding some color.

Remember, each outline layer will have its own corresponding color layer, perhaps even more than one if fine detail is required, but that is something the client and illustrator can discuss. These are you base background colors, and shading will come later.

We've skipped a few of the color layers so we could show you the final background scene. Now, it doesn't contain any more detail than what was added above, save for the table and window scenery. Let's move on and add some more detail, like your character.

You see what I mean about using layers? I didn't have to recreate the scene, just move the layer around! Here the scene is eleven layers, including your character. The more detail you add, the higher the layer count can get!
She looks like she has an idea? Perhaps her kitchen is looking a little bare?
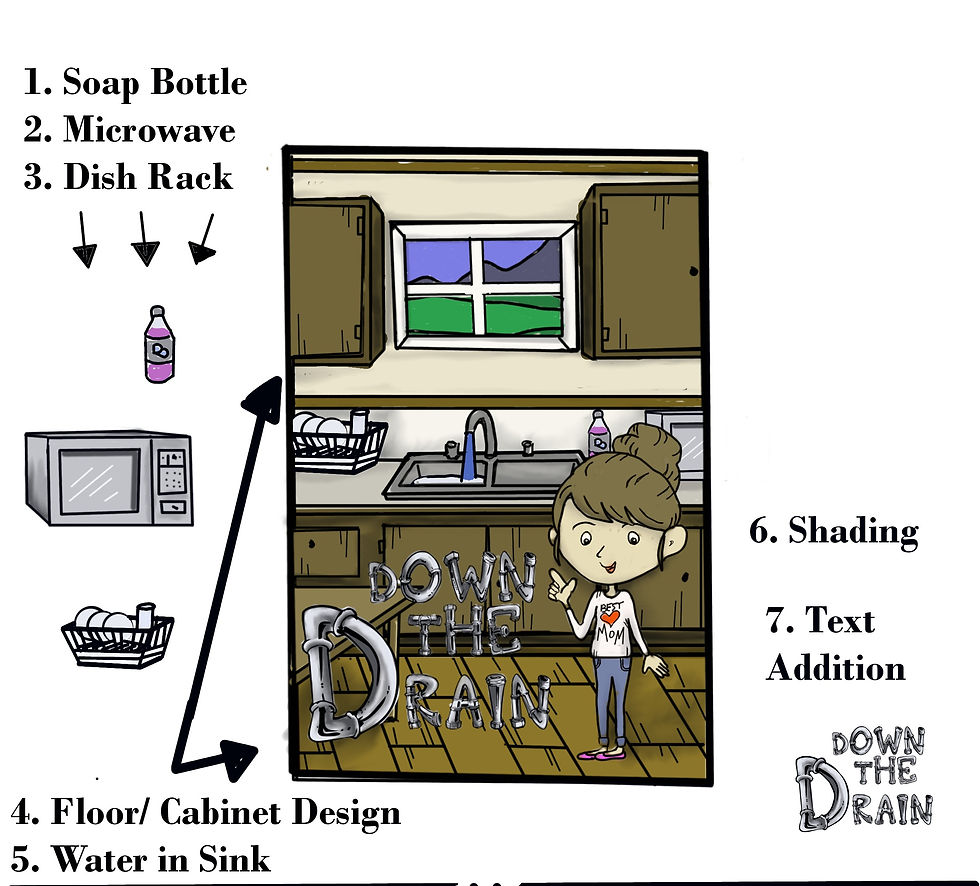
Let's add a few things, but keep an eye on the layer count. Soap bottle, microwave and dish rack, three layers with corresponding color layers. The scene is now 22 layers!

But what if that wasn't enough? The client wants more detail? No problem, so long as they remember that more detail = more layers.

We've added a calendar, curtains, laundry basket, those dreaded bills and a glass of spilled milk. You see how they can slip in and around other elements in the scene? The scene is now sitting at 32 layers, and look how it's all came together! I could keep adding more detail, like a fan overhead, toys littering the ground, an array of stick note reminders... If we do some math on this one, like we did with the Character Creation...
32 layers X $1.75 per layer = $56.00
That sounds like a lot, and when you factor in that most illustrated books are at least, 24 scenes....
24 scenes x $56 /each = $1334.00 << Holy Smokes, let me check that... Yup, my math was right (Had to find a calculator LOL) That is downright, crazy, but when you factor in all the layers and the work that went into it.... Still, I have never and will never be alright with that price. $1334.00, and that is before Character Creation (approx 25$) AND Cover Creation (approx $100 depending on number of layers)... Now do you see why I despise pricing?

I wanted it to be easy. I wanted it to be fun. I wanted to help people out, all while keeping a roof over my head; but that was a lot of money to be charging, in my mind anyway; remember, I am self-taught. I don't have fancy art degrees or professional courses under my belt. I just doodle, a lot, which is why I left the layer count up to the client. If you've seen some of my work, you know it can get extremely detailed; just look at my Inktober album or some of my hand-drawn pre-mades! I'll keep adding and adding, which looks fantastic, but it wasn't fair to the client, or the illustrator by setting a flat rate when some scenes were far more elaborate than others. We wanted options, and so did our clients, so we created some. You are still welcome to go the 'By the Layer' route if you know exactly what you want and don't mind setting a layer limit for each scene, but for those who are unsure of what they want, we offer a package-style deal for interior illustrations. Each package comes with its own layer limit and allows the illustrator, me, a range to work within without costing the client a pretty penny; or their sanity.

**All slides come with two free rounds of editing, regardless of layer count**
All in all, if you're looking for a sweet and simple scene to go with your geared for toddlers story and you aren't looking for much detail (less than 20 layers a slide), you're better off to go with the 'By the Layer' option. Those in need of more detail will find the packages helpful and the $5 discounts are a bonus!
I just want to doodle and my clients provide me with the inspiration to do so, but I wanted all of them, and you, to know just what went into a project and what I'm doing to keep the chaos, and cost, down! Anyhow, it's getting late here and we've covered pretty much all there is when it comes to Scene Creation; at least, the way I do it. We'll pick up again in Pesky Pricing Part Three- Cover Creation- which is kind of like Scene Creation, with a few more steps.
Until then, Happy Browsing, Mara!


Comments